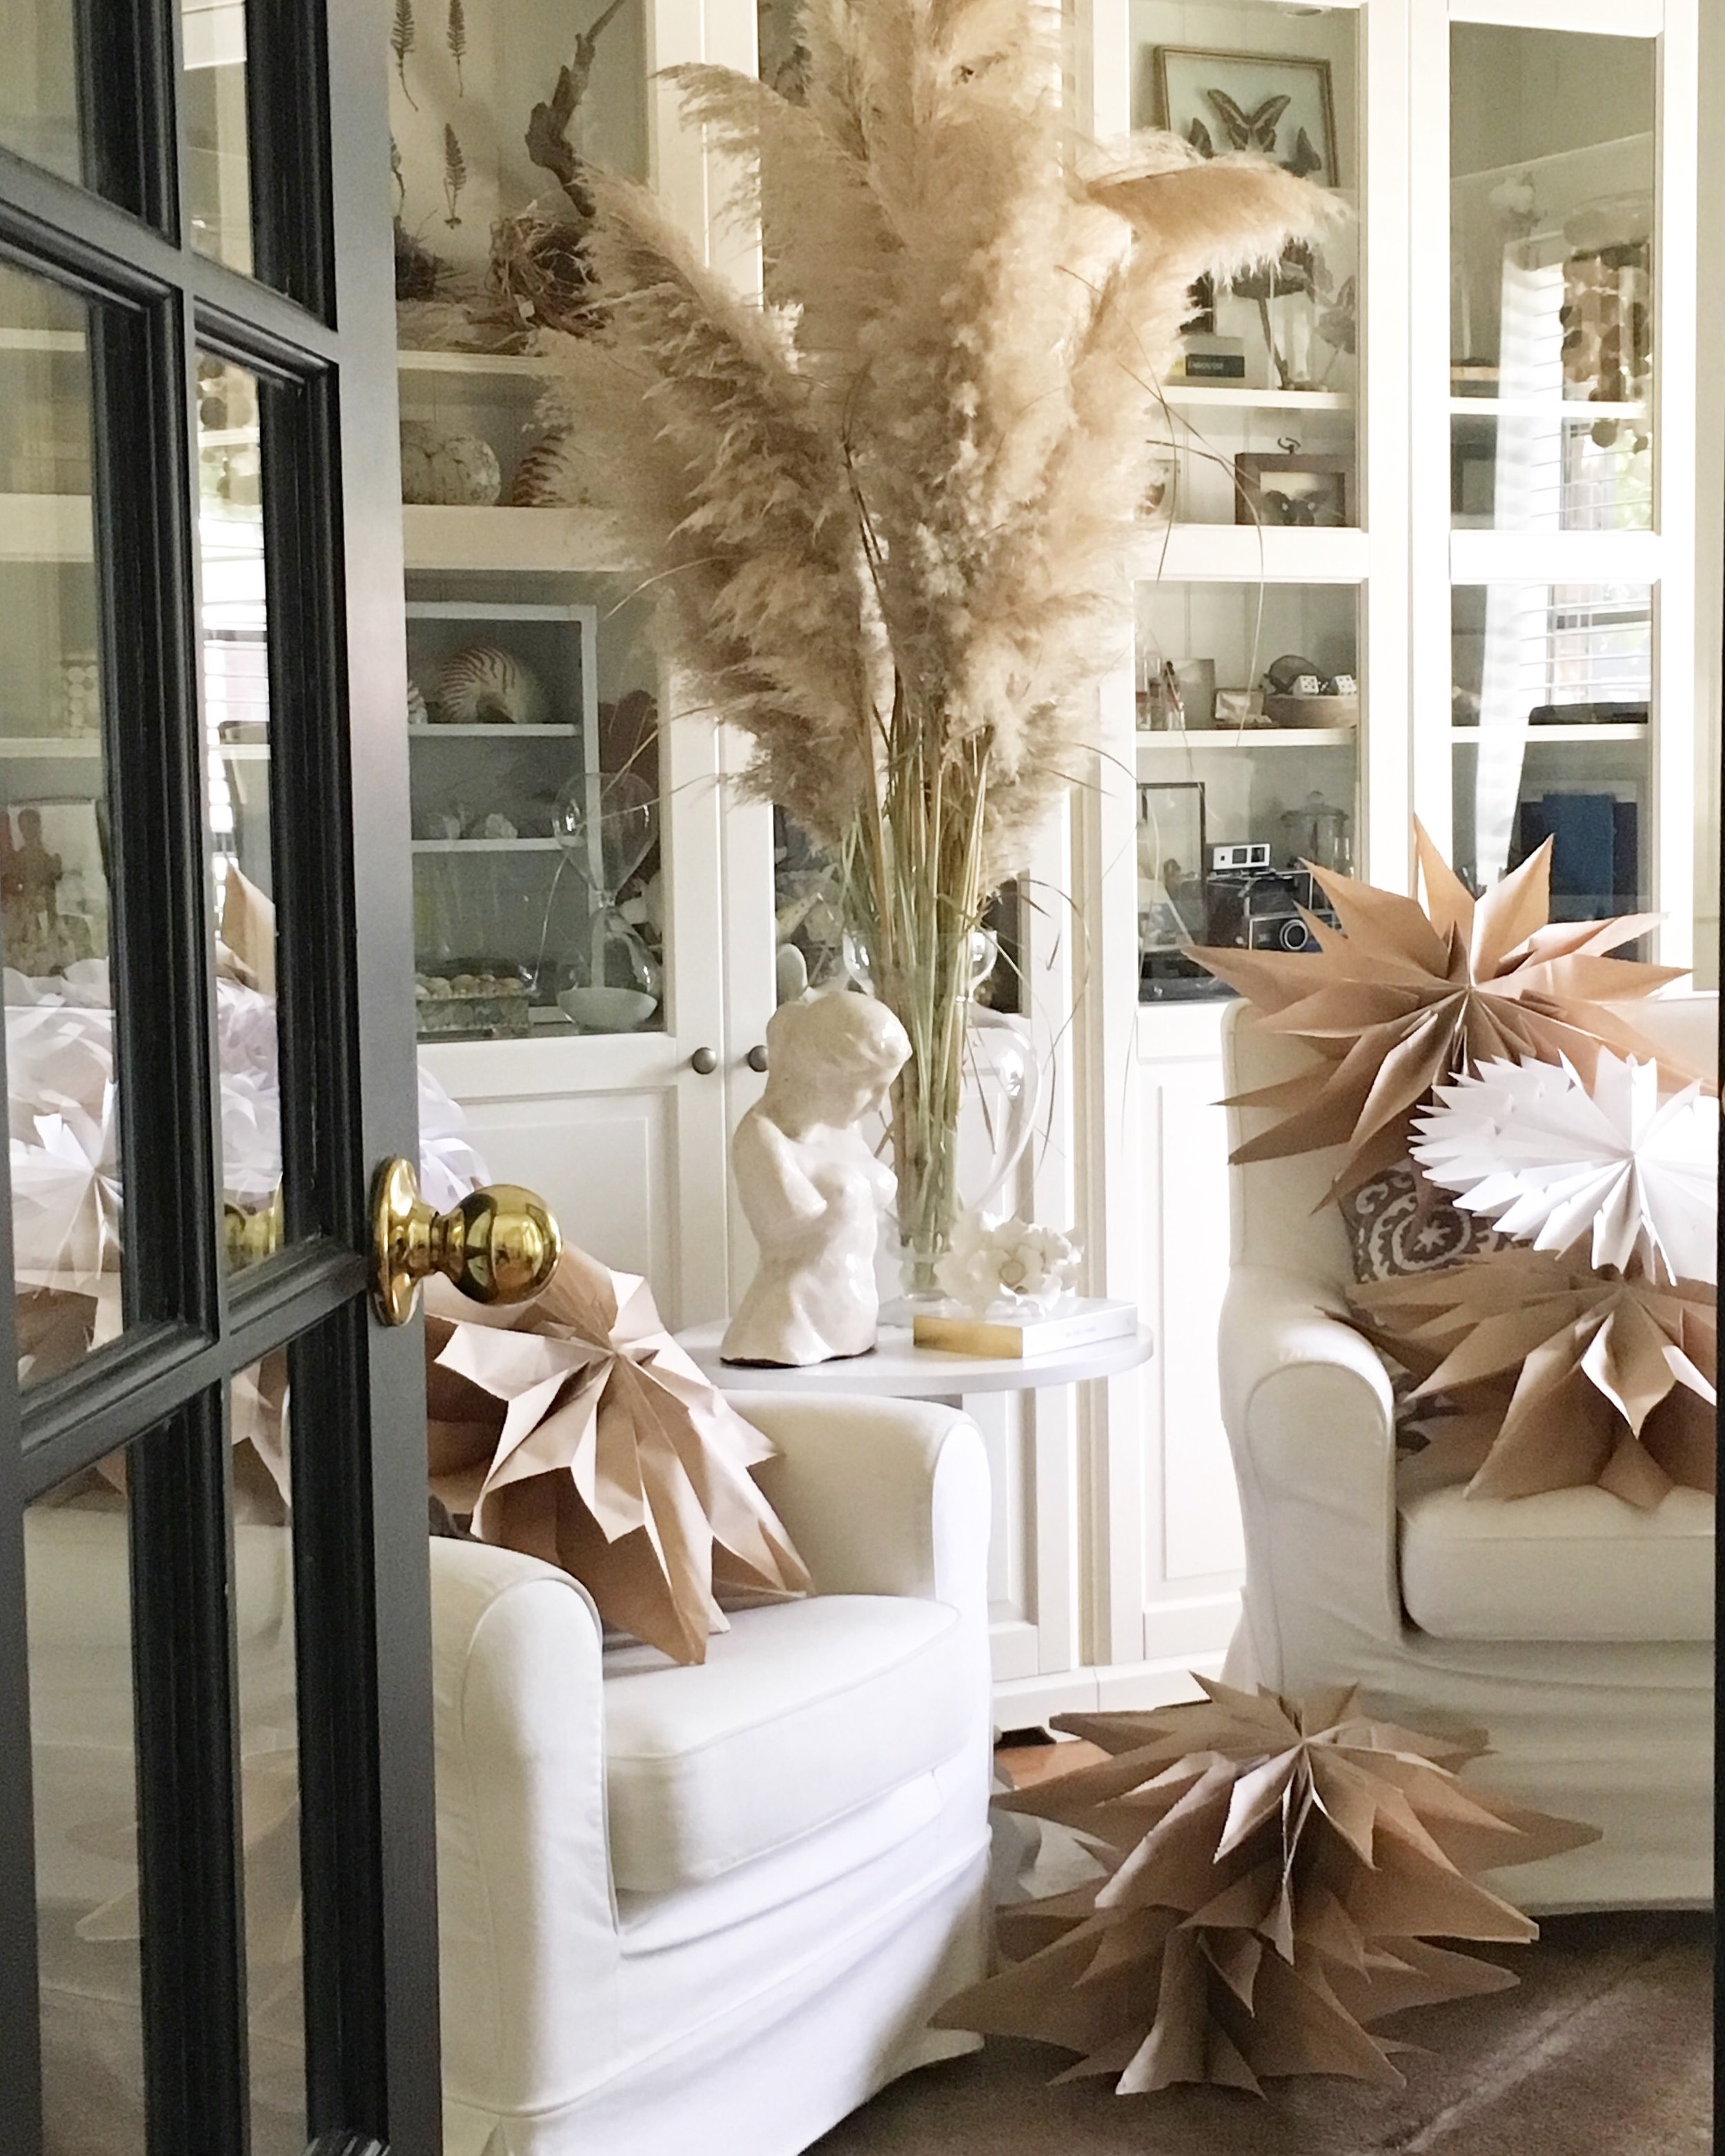
HOW TO: PAPER STAR TUTORIAL BY CURIOUS DETAILS
Paige Hull
We’re excited to re-share one of our most popular tutorials created by Becki Griffin of Curious Details. Do these beauties look familiar? We featured these fun paper stars in vignettes throughout The Vintage Round Top during our Swedish Style Holiday shoot, which we did several years ago with Kerry Kirk Photography and Curious Details. They were the perfect addition—neutral and understated, yet undeniably beautiful—bringing a soft, unique touch to the room. These stars have since become a favorite decorating element for us, and we hope they inspire you as much as they’ve inspired us!
We couldn’t get over how EASY these were to achieve and Becki makes it looks like a breeze in her video tutorial (above.) With just a few supplies and a small amount of time, you’ll be seeing stars in your home this holiday by following these simple steps!
Glue three bags together then cut to a point and set aside.
Next, glue four bags together and cut to a point.
Doing this in two small batches makes it easier to cut. They don’t have to match perfectly, mine never do and the results are beautiful.
Next, glue the two stacks of bags together and unfold. Punch a small hole in one of the star tips to hang with string or wire.
That’s it! - We told it was EASY! Make the look your own by using paper or craft bags of varying sizes, prints or colors. Or even turn your star into a snowflake by cutting little triangle sized slits into the edges of your craft bag! This would even be the perfect activity for a holiday party, or a fun family night in - either way we can’t wait to see how your stars turn out. Share them with us on social media using the hashtag #rvtswedishstyle @thevintageroundtop @curiousdetails.
Becki Griffin’s Home Office
Paper Star image by: Becki Griffin
*Unless noted, all photography was done by Kerry Kirk Photo


